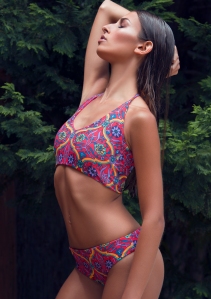
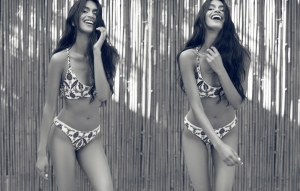
Favourite Highlighters

So, there has been a huge surge in popularity in contouring, thanks in large part to Kim Kardashian and her team of artists. Contouring however, has been used for quite some time, and made popular by the one and only Kevyn Aucoin. If you haven’t heard of him, and you are a makeup enthusiast, do yourself a favour and read up on him.

Kevyn changed the makeup industry and made a name for himself by making over some of the most beautiful women in the world, including a young Kate Moss and supermodel Cindy Crawford. His books are front and centre on my shelves. Kevyn somewhat brought contouring to the celebrity makeup world. And with that, came highlighting.

Contouring is used to shade and define bone structure on the face (my next post will be about contouring, so stay tuned), however highlighting is used to enhance bone structure, bring forward parts of your face. I feel the obsession with contouring has downplayed the beauty of highlighting, which as an artist is one of my favourite things to do.

This post will review my favourite highlighters and how to use them. I hope you enjoy!

Let’s start with my favourite.

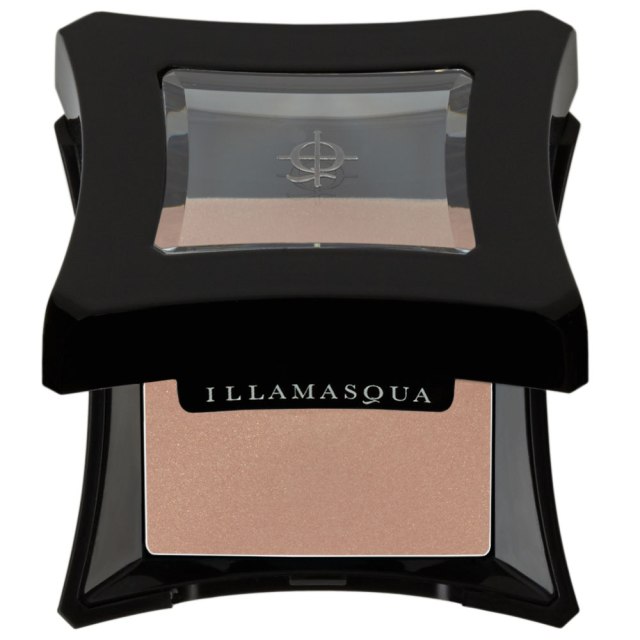
1. Illamasqua Gleam in Aurora

image

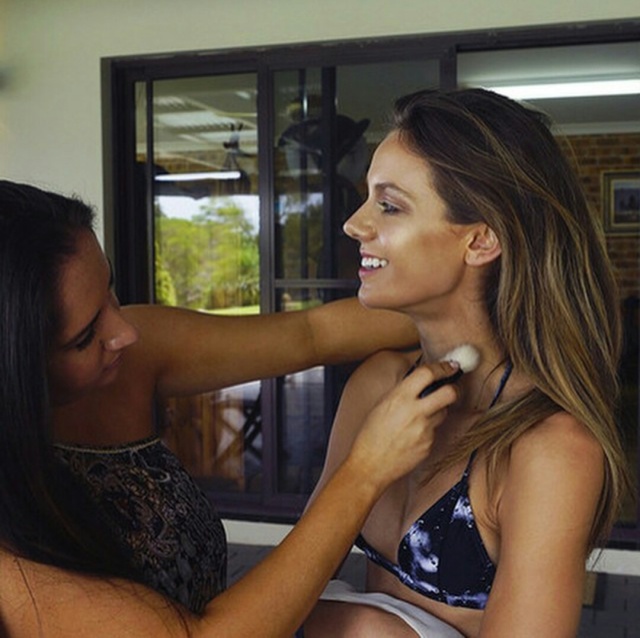
This highlighter is like putting sunshine on your skin. I love cream products as they tend to mimic skin and powder sits on top of the skin. I get the end of my brush and take some product and put it on the back of my hand. I get my ring finger (this finger will apply the correct pressure on your face) swirl the product into my hand, hence warming the product up and with a tapping motion, apply the highlighter where I want it. When you have applied the desired amount, use your fingers to push the product into the skin. This will allow the product to infuse with the akin, giving it a lit from within look. Here is a behind the scenes shot showing the glow this product gives.

image

Behind The Scenes with Model: Gracie Ireland, Nabu Bronzing and Kaliver the Label.

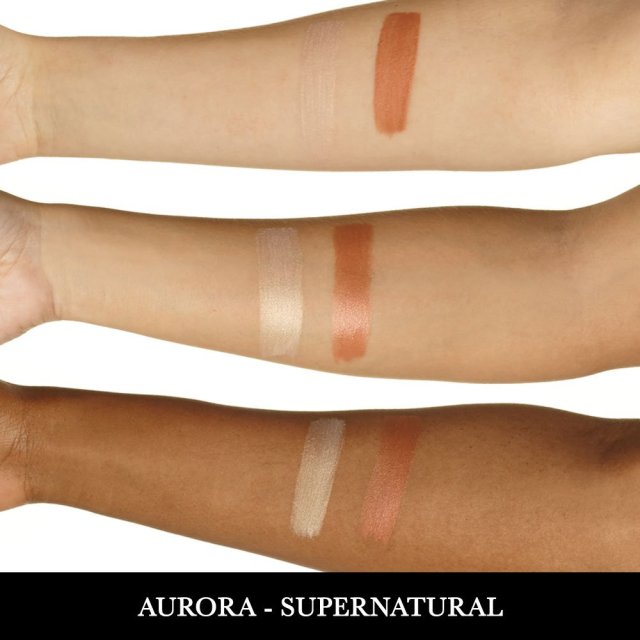
This product also has another shade – Supernatural. Below is a shot taken from Illamasqua’s website showing the different skin tones.

image

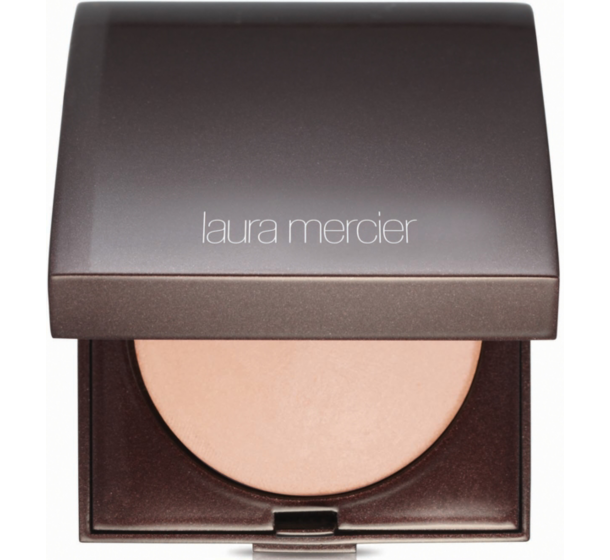
2. Laura Mercier Matte Radiance Baked Powder Highlight 01

image

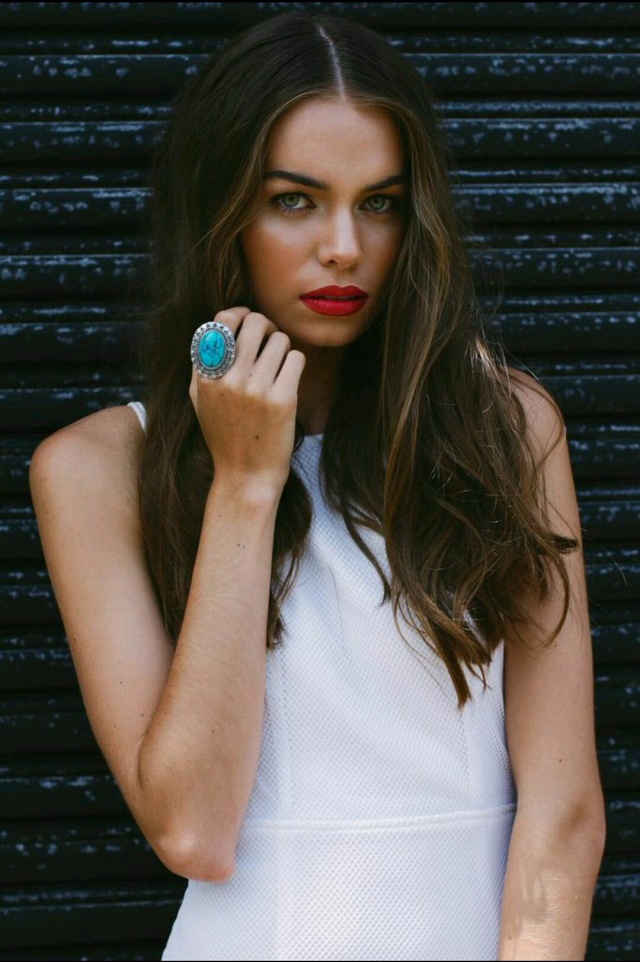
This stunning highlighter is a powder, but I’ll tell you why it doesn’t cake on the face. Whenever you want powder makeup to look natural, test the product by getting some between your pointer finger and thumb and roll the product around. Do you feel the granules or does it feel like flour? If you can feel little granules, the product will be too cakey on the skin. The finer the particles and more highly milled, the closer the particles can sit together on the face, looking much more natural. This highlighter is so finely milled, it creates such a gorgeous glow on the skin. Always start with a small amount on your brush, tap off the excess and apply. It’s much easier to build up product, than try and remove too much. Here’s a shot from a shoot when I used this gorgeous product.

image

Shoot for HerFashionBox with Teeganpack behind the camera and the stunning model is JordieShennan

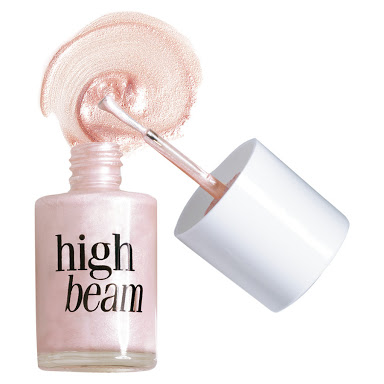
3. Benefit Cosmetics High Beam

image

So, I actually use this in my personal kit. It is so easy to use because of thr applicator (as pictured). I’m quite fair, so if I don’t want to do too much on my face regarding product, I’ll apply some of this on my cheekbones and I will have a beautiful glow all day. No brushes required, apply with applicator and press into skin with your fingers. For an all over glow, I also fix a small amount into my foundation or tinted moisturiser. This is especially nice during summer or when your skin is looking a bit dry in winter.

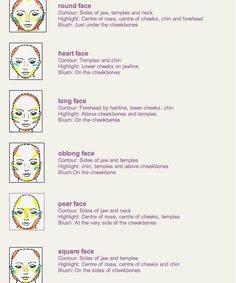
Now, getting to how to contour and highlight your face! The whole point of contouring and highlighting is to creat an illusion that your face shape mimics what the beauty industry classifies a face as the perfect shape, which is oval. How Kim Kardashian contours and highlights her face, does not mean that is how you do it. Here is a great guide on how to contour and highlight based on your face shape.

image

If you’re unsure of what shape your face is, don’t hesitate to ask me. I hope you’ve learnt something.

x
Kylie Jenners Lips

image

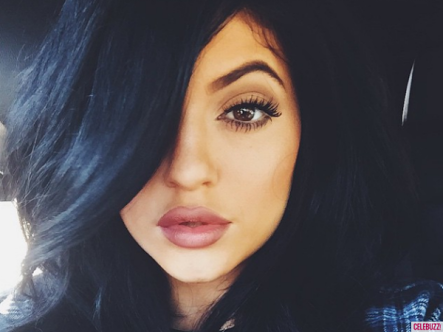
So, in my search of finding what’s trending at the moment in the cosmetics and beauty world, I came across #kyliejennerlipchallenge.

Some avid followers of Kylie have been resorting to suctioning their lips into all kinds of contraptions and household items, most popular seem to be shot glasses. This boggles my mind!

Kylie’s lips are gorgeous, in fact, her makeup style is perfection to me. She has been taught really well by some very clever makeup artists, and from what I’ve found, she has been able to recreate the looks herself, very well.

As a makeup artist, I believe she has not in fact gone under the knife, or even the needle! It’s amazing what makeup can do to facial structure and features, and I would love to show you my favourite products on how I achieve fuller looking lips.

Step 1.

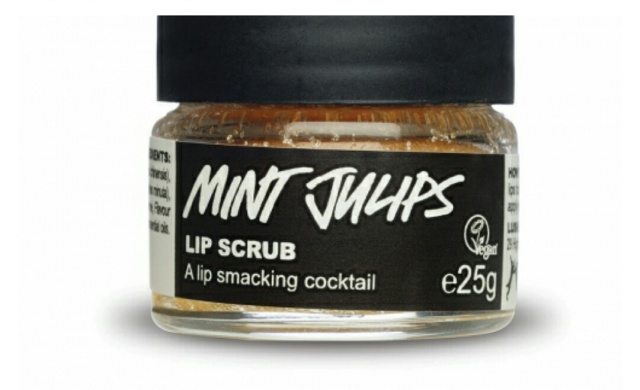
Grab yourself a Lip Scrub from Lush Cosmetics. They have a few flavours, but my favourite is the Mint Julip Lip Scrub and retails for $9.95. I know a lot of professional makeup artists use this, and I’m also a huge fan. Grab yourself a cotton bud, apply some scrub and rub. Using a scrub will instantly stimulate the blood vessels, without rupturing them and will instantly start plumbing whilst getting rid of dead skin. The Mint Julip Lip Scrub also has Peppermint Oil in it, which makes your lips feel smooth and tingly. Once completed, use a damp cloth to remove dead skin and scrub.

image

Mint Julip Lip Scrub

Step 2.

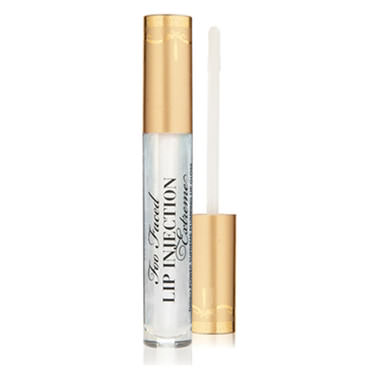
Get yourself the Too Faced Lip Injection Extreme. This baby is THE best lip plumper I have ever used. The ingredients behind lip plumpers tend to be pepper, cinnamon etc, products that sting. The stinging sensation that comes from these ingredients are the blood vessels being stimulated and brought closer to the surface of the skin. Other plumpers I’ve used have always stung way too much and I’d have to wipe the product straight off. Too Faced seem to have found the perfect formula. Apply using the lip applicator and wait. If you’re feeling tingly, it’s working. You can find the Too Faced Lip Injection Extreme at Mecca, in store or online for $38.

image

Too Faced Lip Injection Extreme

Step 3.

Find yourself a MAC colour pencil in Dervish for $30. By now, your lips should be nice and soft, and also plumped up. Here’s where cosmetic trickery comes in. You need to line your lips, but on the outside of the coloured part of your lips. The part of your pencil closest to your lip should just touch the edge of your lip. Plumped lips don’t tend to have a really defined cupids bow, so I soften the definition/edges. Dervish Lip Pencil is slightly deeper than the lipstick, which will create the illusion of fuller lips, and lining the outside of your lips with make them appear larger.

I must stress, do not line your lips further than described above, or you WILL look like a clown! Consider yourself warned. 🙂

image

MAC Colour Pencil in Dervish

Step 4.

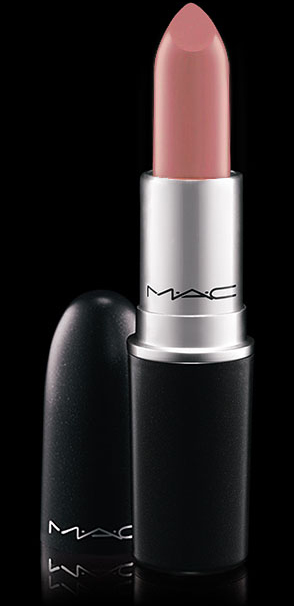
Whilst you’re at your local MAC counter, pick up a lipstick called Brave for $36. Brave is a satin finish which is in between a matte finish (doesn’t have any shine) and a cremesheen (quite shiny). This finish will capture some light on the high points of the lips creating dimension. Apply with a Lip brush to ensure you get a nice, crisp lip line.

image

MAC Lipstick in Brave

Step 5.

Line your lips again with MAC Colour Pencil in Dervish to clean up you lip line and ensure you have that deeper shade of colour.

You could also find a clear gloss or your favourite highlighter and place a small amount in the middle of your lips. This will help in creating the look of fuller lips. Apply with your ring finger. Applying fine amounts of product with this finger will ensure you don’t apply too much.

Thanks for reading, if you try it, leave a comment to let me know how you went.
X

x

SWIM

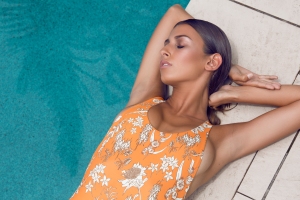
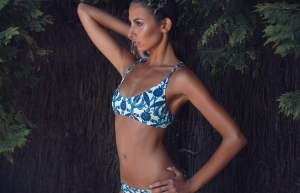
When Connor Langford contacted me to work with him, I jumped at the opportunity. We had an unreal team which was complemented with Dominique from Platform Model Management and Misty from Five Twenty Management. Camp Cove gave us some gorgeous swimwear pieces to use.

My hero products I used to achieve this look were Laura Mercier Matte Radiance Baked Powder in Highlighter 01 which ‘gives the skin a natural colour with soft matte radiance finish and a hint of warmth’, and good old cooking spray. I used cooking spray on the models body to get the nice sheen on the skin, and to apply I used a medium sized paint brush. Depending on post production from the photographer, the sheen can look more matte radiant to high gloss. In reality, the spray was high shine.

Leave some feedback on your thoughts or if you would like to know more

xDominique1 Dominique4 Dominique6 Misty4